JSnip 0.5, a Portfolio Section and a little blog optimisation.

Sloveina
As a result of a holiday in Slovenia (obligatory photo to the right), being a little busier than normal at work and a hint of having nothing interesting to post it appears it’s actually been quite a while since I last updated my blog.
My solution as you may have noticed is this somewhat rambling posting purportedly providing interesting information and such.
Probably the most interesting update to the estimated two people that actually read this blog is the release of my latest version of JSnip. The new version includes with it an array of bug fixes and a brand new LightBox Snippet, along with a rather snazzy little zoom animation to go with it. As always you can get the full code on Github and check out the new features on the sample page.
Probably less interesting would be the fact I finally got a more or less functioning version of my portfolio page on-line (minus quite a few projects I lack pictures for). The best part of this being my site is now finally free from those pesky “coming soon” pages, and that I’ve also found somewhere to dump a little feed from my github.
Least interesting of all, but probably still quite a nice change for anyone who actually views these pages is that the blog should now be loading signifcantly faster thanks to the addition of WP Super Cache. (Previously page loads were taking a good ice age and a half which was kinda ridiculous)
P.S. Click the Holiday Image to the right to see the new JSnip Lightbox in action.
Introducing JSnip

JSnip Sample Page
GITHub and GIT seems to be all the rage these days so I decided it was about time I got myself an account and figured out what all the fuss was about. My problem with this plan was that I had nothing worthwhile to use it with. To solve this issue I finally got around to creating something that I’ve been contemplating making for a while now. I like to call it JSnip.
JSnip is a lightweight JavaScript based Snipping package, aimed at those who want to add interactive elements to their webpages but lack the necessary JavaScript knowledge to do so.
If you know basic HTML then useing JSnip should be a snap. Just upload the JSnip.js and JSnip.css files to your server, import them in the head of your HTML document; probably using something along the lines of:
<link rel='stylesheet' href='jsnip.css' type='text/css' />
<script type="text/javascript" src='jsnip.js'></script>
and JSnip is ready to go.
Adding Snippets to your page is as simple as adding a class name to an element. In fact that’s actually all you need to do. If you want a showHide box for instance, just type out something like:
<div class='jsnipShowHide' title='Title for your ShowHide' >
Show Hide Content
</div>
and you’ll get:
Show Hide Content
Now, if you wanted the ShowHide to be open by default, all you would need to do is add an data-mode of “open” to the tag. Thus:
<div class='jsnipShowHide' title='Title for your ShowHide' data-mode='open' >
Show Hide Content
</div>
will produce:
Show Hide Content
Adding Tabs is no more difficult, a basic set of Tabs for example need consist of no more code than:
<div class='jsnipTabs'>
	<div>
		<h2>Tab 1</h2>
		Tab 1 Content! Add tab one content here.
	</div>
	<div>
		<h2>Tab 2</h2>
		Tab 2 Content! Add tab two content here.
	</div>
	<div>
		<h2>Tab 3</h2>
		Tab 3 Content! Add tab 3 content here.
	</div>
</div>
to create a Tabs box such as the one below.
Tab 1
Tab 1 Content! Add tab one content here.
Tab 2
Tab 2 Content! Add tab two content here.
Tab 3
Tab 3 Content! Add tab 3 content here.
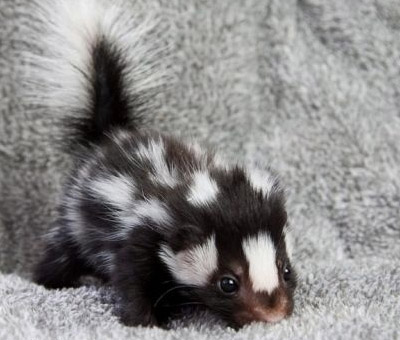
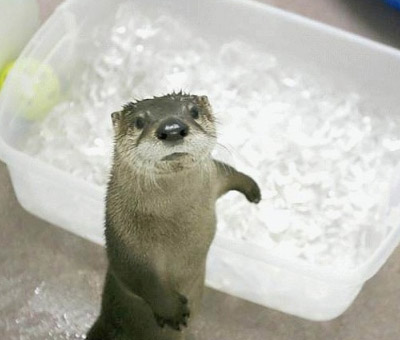
The image switcher snippet as seen in one of my past tutorials has also made it into JSnip. Thus a list of images can be transformed
<div class="jsnipImageSwitcher" style="width: 400px;">
    <img src="/demo/img/skunk.jpg" alt="A baby skunk!" />
    <img src="/demo/img/otter.jpg" alt="An otter" />
    <img src="/demo/img/bunny.jpg" alt="A Bunny Rabbit" />
</div>
into this, with only the above code.
Check out the Sample page to see how these snippets can be used together on a page.
The provided snippets are all nestable so they can be placed inside one another as much as you please, along with any other HTML you wish to add. A nice example of this is if you wanted to make the images in an ImageSwitcher link to a number of other webpages. All you would need to do is wrap the relevant image in a standard A tag pointed at where you want it to go.
The CSS behind the snippets can easily swapped out or modified to fit in with your own layout (as the snippets have been for this blog for instance), making the snippets simple to customise.
For anyone interested in the code, you can view it on my GitHub repo. I shall be creating another blog article soon, aimed at developers, explaining how it all works behind the scenes.
I’d be more then happy to answer any questions you may have in the comments section below.
Thanks for reading,
Carl
Image-switcher snippet
Since my plan today was to start working on creating the portfolio/past work section of this site, I decided to start by creating a few simple snippets that I thought would likely come in handy.
The first of these being a simple image switcher. The idea behind the snippet was pretty much to just be able to put some images inside a div with a particular class and have the snippet do all the work. A little bit of dojo later and the below is the result.

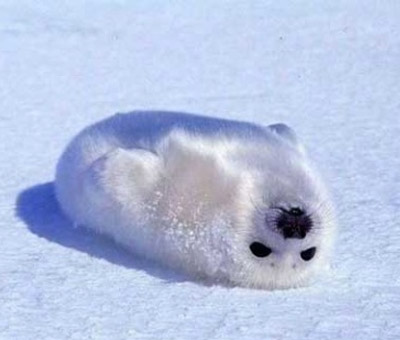

(images “borrowed” from the interweb)
To use the snippet all you need to add Dojo to the page, then import the jsnippet CSS and JavaScript files. After that just add a div to the page with the class “jsnipImageSwitcher”. The above Image switcher for instance is actually just the following HTML wirtten in to the page.
<div class="jsnipImageSwitcher" style="width: 400px;">
    <img src="/demo/img/skunk.jpg" alt="A baby skunk!" />
    <img src="/demo/img/otter.jpg" alt="An otter" />
    <img src="/demo/img/bunny.jpg" alt="A Bunny Rabbit" />
    <img src="/demo/img/seal.jpg" alt="Upside down Seal" />
    <img src="/demo/img/kittendog.jpg" alt="A Kitten sleeping next to a big dog" />
</div>
The snippet will work out the amount of images dynamically so there are no limits to how many can be used within it. The only limitation to the above being that the default styles may not leave room to fit the dots. As you may have noticed the snippet also pulls it’s caption from the images alt attribute, which has the added bonus of improving the images ability to be found by search.
If for any reason JavaScript is not enabled in a user’s browser the images will display normally without any side-effects as a result of being part of the snippet. The snippet is tested in Firefox, Chrome and IE9.
If your interested in knowing how the snippet works, keep reading after the jump for a full explanation.